Thursday, February 13, 2014

Pooh Girls

This is the first of a series of paintings I'm doing of my dog - Pooh. I'll be doing this one in full color and try to get it as photo realistic as possible. Maybe I can get it to qualify as a hyper-realism.


First color layer - Used burnt umber, yellow ochre, titanium white and small touches of madder (crimson) lake deep.

Adding details to the nose.

Adding fur color layer. I used Burnt Sienna, Yellow Ochre, and Burnt Umber.

2nd color layer complete.

Thursday, January 2, 2014

Alla Prima -Day Paintings

I'm Practicing some one color painting and decided to do some old photos of my Mom and Dad from 1961. I used a Burnt Umber with Titanium White scale. Each took about 5-6 hours. These are small about 6" X 4.5" on canvas paper.

Monday, July 29, 2013

Walt Whitman

I love the photos of Walt Whitman (American Poet) and thought it would make a great painting. This one is going o be big (24X30). I'm still not sure I can paint this in the Flemish style but I'm going to try. I'll update photos as I go along. Here is the beginnings of the sketch.


I finished the sketch, it has a bit more detail than I usually do for a painting, but it was fun so I kept going. This will get transferred to a canvas and I'll begin the oil painting process.

I prepared the canvas with about 10 coats of gesso and light sanding in between the last few coats. It's not worth posting a photo of a blank canvas. The process is tedious, but its makes a big difference. The surface is smooth which is what you want to get the smooth gradients in oil and details which really make the painting stand out.


I recently purchased a projector and decided to transfer the photo to the canvas using this method. I can get a lot more detail and a more accurate transfer using the projector. Doing the sketch was not a waste of time. I found it got me more familiar with the photo and it made the transfer to the canvas much easier. 


I used spray fixative to seal the graphite transfer and this worked very nice. No smudging! 


This is the first layer. I oiled in the whole canvas with linseed oil and applied one light coat of yellow ochre. I mix the yellow ochre with some turpenoid to thin it out. I use a fan brush (dry) to smooth out the tone. Wait for this to completely dry before proceeding to the steps. It takes at least a week.

Next start in with Burnt Umber under painting.


Burnt umber layer is complete. 


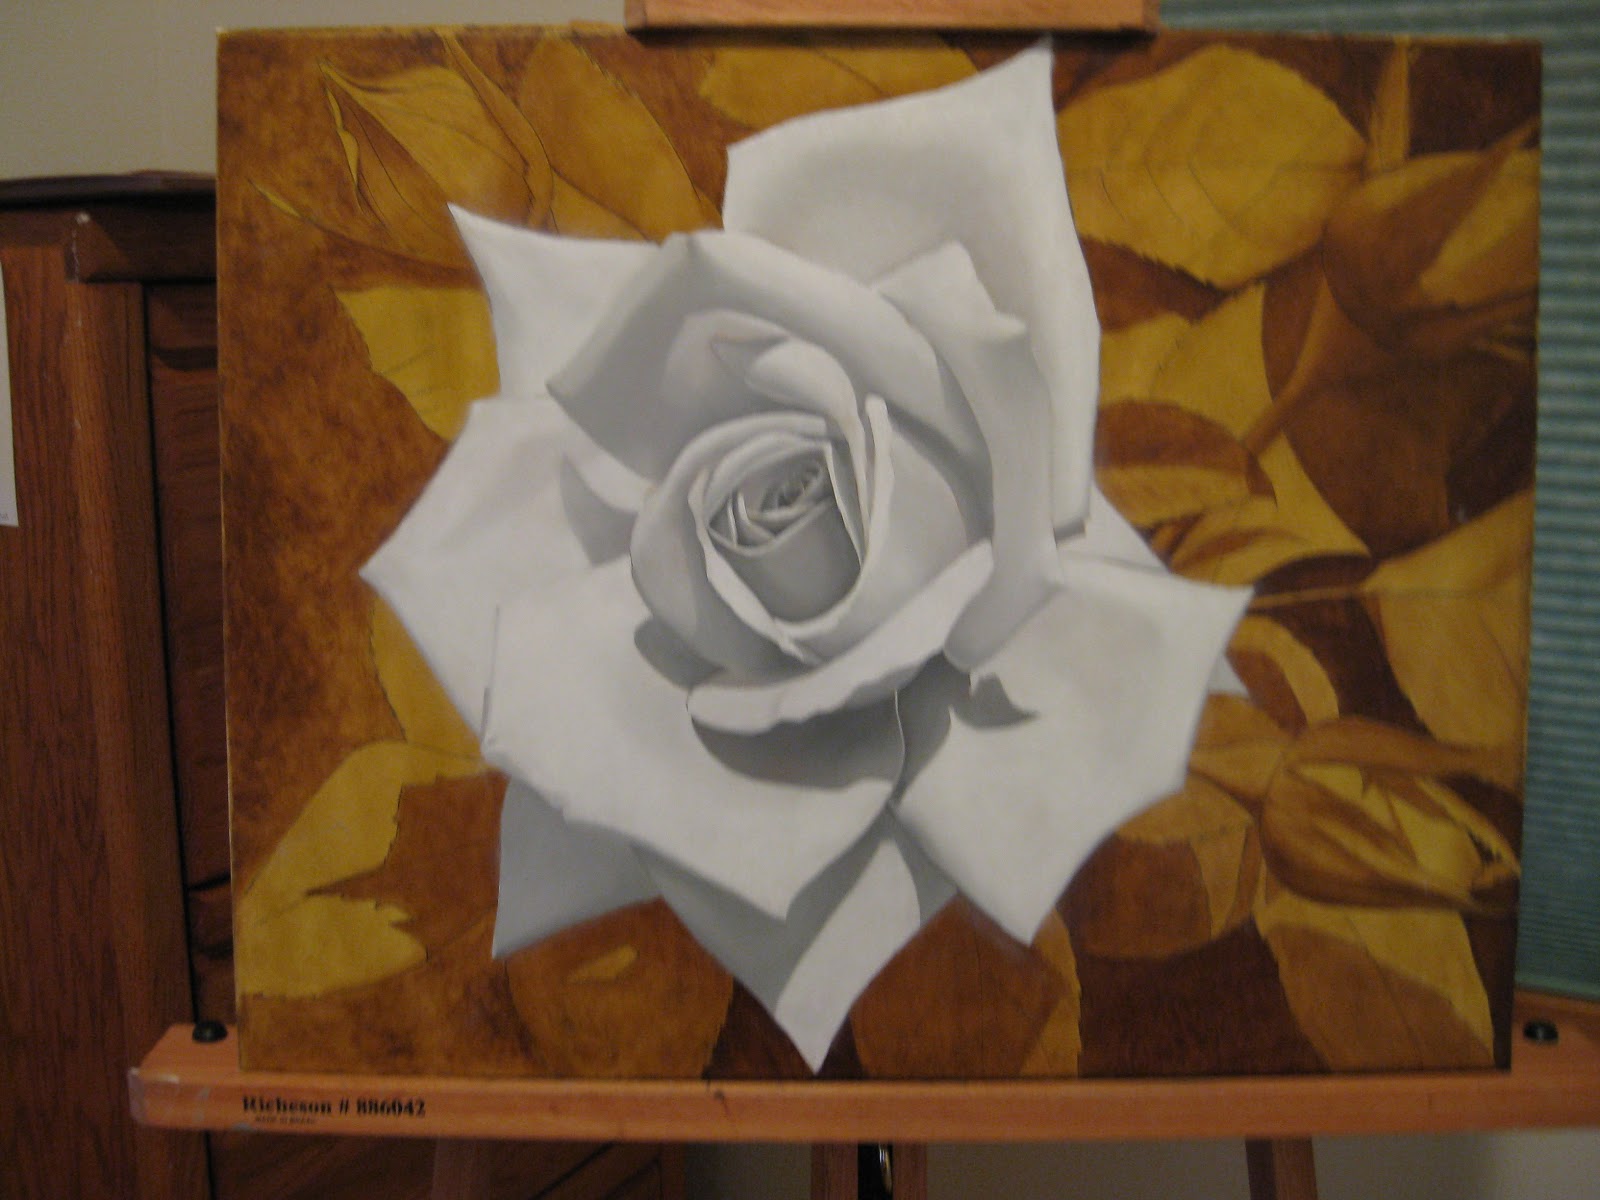
Next start in with the gray scale. Since this photo was originally black and white I think I am going to leave the painting in black and white and not try and colorize it.

The is just the first layer and you can still see some of the burnt umber showing through. I need to ignore the white hair and details for now and lay in darker tones first then come back later to put in the white hair (like in the eye brows).


I added in the hat, some background and the under layer for the beard. This is difficult because I need to once again ignore the white hair and get the tones beneath the beard. 


Graphite Sketch

This was done way back in 1993 when I used to do plenty of graphite sketches. This is 8"X10" and basically copied from a photograph. In fact, I used a light board to trace the photo and so it really was just an exercise in shading. I have it my hallway and still enjoy looking at it. 


Monday, April 29, 2013

Female Nude Study

Although I would love to study from the live nude. There is really no way to do this at home. So I'm using a reference photo and just trying to practice my modeling skills in gray scale. I realize that flesh tones are complicated and I'd like to try full color in the future, but for now this one will be in B&W.


Added more detail to the cloth wrap
Added detail to left hand and arm


Cloth and right hand detail

Sunday, March 31, 2013

Pink Rose

The Pink Rose was my attempt at learning and experimenting with the classical Flemish method. I chose this pink rose because I thought it would be an easy way to start since there is basically on two main colors. I started with a pencil sketch and worked from a reference photo. I had lots of fun learning and doing this painting. 

Pencil sketch (8.5 x 11)


Burnt Umber Layer
I enlarged the 8.5 X 11 sketch on a photo copy machine to 16 X 20, traced the line work and transferred it to a canvas that was prepped with several coats of Gesso to an egg shell finish. I went over the graphite transfer lines on the canvas with a black ink. I no longer do this cause I think the black ink is just too heavy. I now just go over it again with pencil and pick up smudged graphite with a kneaded eraser. Next I lightly rub linseed oil over the whole canvas, which is called as oiling in. This will cause some of the graphite to smear but you should still be able to see the line work. The first layer of paint is a light coat of yellow ochre over the oiled canvas which will seal in the pencil work. Let this dry completely. The next layer of oil paint will be shading in the mid-tones with Burnt Umber only. 


Dead Layer
After the Burnt Umber layer is completely dry, begin the next layer by once again rubbing linseed oil on the canvas but this time only apply oil in the area you plan on working on. In this case, I did the rose in one sitting and oiled-in only that portion of the painting. Make sure not to use too much oil. Mop up any  excess oil with a make-up sponge, hands or remove some with a fan brush. Setup the pallet with a gray scale using Lamp Black and Titanium White. Use the Burnt Umber layer as your guide for modeling the dead layer. 

More dead layer work with the same process as above.


1st Color Layer
Oil-in the area you'll be working on and start in with the color. Don't worry about trying to achieve the final richness of color with the first layer of color. This is the nice thing about working in layers; you can always add another layer to get the deeper richer color. Make use of the dead layer in the same way the Burnt Umber layer was used to assist in modeling the dead layer.

2nd & 3rd Color Layers
 The rose has already received three color layers and I've added some final details like gain in the petals.  I still need to add some more color to the leaves but this it for now.

I added more color to the leaves and finished it with highlights. 
The Pink Rose is done!
16X20 Oil on Canvas

Thursday, February 7, 2013

Apollo Cast Drawing

Here is my first cast drawing. This was a lot harder than copying from the flat. I attempted to use the sight size method but found that my cast was too small . In the end, I had to do my best and I scaled my drawing up as you can see in this first photo. Here are a few links for sight size method when you have good size cast:
Sight-Size Method by Ben Rathbone.

Here's my process...
1. I usually start with drawing a center vertical and horizontal line to help with measurements. I start by roughing out the form with straight lines on a lower quality paper in graphite. Straight lines like some of the first plates in the Bargue exercises. I like to use a low quality paper to make all my mistakes and make sure to get the proportions right. 

2. Second I'll start to smooth out the hard lines and put more detail defining as much line work as I can. Sometimes I'll block out shadows with graphite on the drawing to help me get a feel for shadow shapes. At this point keeping everything pretty light. Filling in some shadow might cause me to see something I missed and I can correct the line work.

3. Next, I trace the graphite sketch with tracing paper. Now I'm ready for the final piece and bring out the higher quality paper. I transfer all the line work from the trace to the high quality paper using graphite transfer paper and a red ball point pen. I use a colored pen so I'll know what I've gone over. Be carful with the transfer paper cause it can get graphite everywhere.

4. With a clean outline I can now start with charcoal. I usually start pretty light at first and lay in the charcoal a little at time. First block in mid tones then come in darker. I've tried vine charcoal but don't really care for it. Its too messy. I like to use general's charcoal pencils (form 2H ext hard to 6B ext soft), lots of blenders and kneaded erasers. 


Apollo Cast: Charcoal 18 X 20